Helm's Deep. The greatest fortification of the lands of Rohan, it has sheltered it's people during the darkest times of their history. It is said in song and tale that no enemy has ever taken the Hornburg, the Keep that lies at the heart of this mighty Fortress, especially when defended by the warriors of the Riddermark. By shield and spear and sword, they have fought to keep their lands safe. But now, they will face their greatest and most terrible challenge. Saruman the White, one of the five Wizards of Middle Earth has fallen to darkness, pledging his service to the dark lord Sauron. Heeding his dark master's will, he has breed an army of Uruk-Hai, a fierce breed of Orc that has no fear of sunlight and an burning hatred of Men. Will the Rohirrim survive to see the dawn?
This game is played between Tabletop_Heroes and Pathfinder Captain. T_H played the Rohirrim, while PC was the Uruk-Hai.
Turn 1: Deployment.
Rohirrim are arrayed on the Walls, ready for the defence. Detail positions of Heroes and deployment of Troops. Uruk-Hai are deployed on the Battlefield, showing pictures of the Siege Teams, Ladders and Siege Ballista.
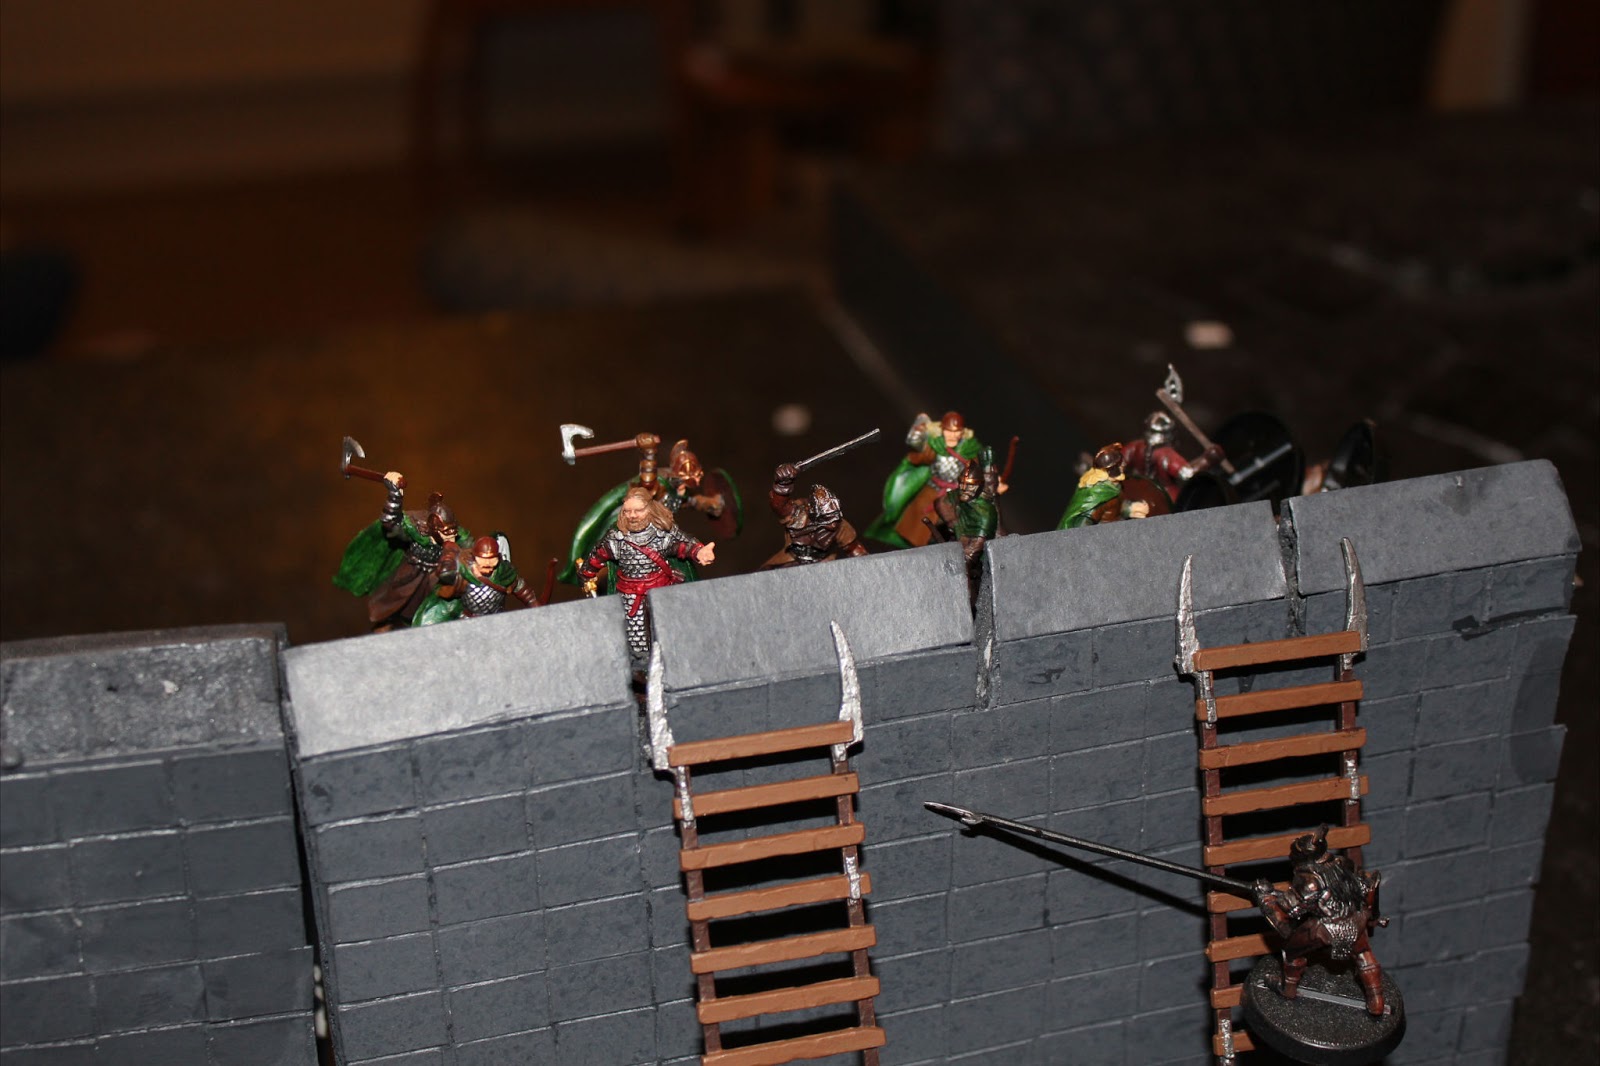
The Rohirrim are arrayed on the Walls of Helm's Deep, preparing their defences. T_H arrayed his warriors in a shield wall with sword and spear on the frontline, with archers supporting them. When the battle inevitably reaches the Walls, he will be relying on spear and shield work to keep the Uruk Hai at bay.
The Uruk-Hai Scouts are leading the advance as a vanguard to bring their bows to bear against the defenders, racing to the foot of the wall. Behind them are the armoured warriors bearing the siege ladders that will brave the hail of arrows from Helm's Deep to reach the walls, clearing the way for the raging Berserkers that come up behind them. Moving through the ranks of the Uruk-Hai are the Demolition Teams, Sappers bearing the explosive charges that have the power to undo the stone of the Deeping Wall.


Turn 2: Advance
Uruk-Hai advance towards the wall, suffering shooting from the Defenders. Show some dynamic shots of the movements and Legolas shooting, as well as the Defenders preparing for the battle. Amid the deepening gloom, the Uruk-Hai begin their advance on the Deeping Wall, a tide of malice that will crush the Rohirrim in their armoured fist. Aragorn, Legolas, Gimli and Hama bolster the courage of their men on the walls, preparing to hold the line when the battle is joined. Aragorn and Hama hold the central rampart, Gimli the right and Legolas the left. Detail more specific troop deployments around each Hero, and their strategies.These Heroes have long proved their mettle in battle, yet this night will test their strength and courage.


Turn 3: First Blood
Legolas and the Defenders score their first kills, particularly against the Scouts that are leading the advance. The Uruk-Hai continue their advance towards the walls, harassed by the Archers on the walls and the deadly skill of Legolas. Three Scouts fall to his bow, but they are now in position to return fire, forcing the Rohirric Archers to seek cover behind their fellows. While the Uruk-Hai have suffered their first casualities, these are only a few leaves in a forest, and the ladders are now perilously near the walls.


Turn 4: Detonation
The Scouts take up their positions near the walls and start shooting up at the Defenders, trying to kill the Rohan Archers. Legolas scores a direct hit on the 1st Demolition Charge, destroying it. A Deadly Shot from Legolas succeeds in destroying one of the Demolition Charges, killing the crew, including the Berserker that ran with them. In response to this set back, PC spreads out his remaining charges to limit the damage that may be done if another should be destroyed, redoubling his advance towards the walls. The Ladders are drawing closer and the Uruk-Hai are eager to spill the blood of Rohan.


Turn 5: Ladders!
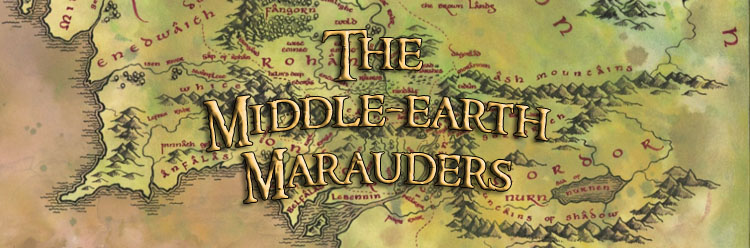
The Ladders reach the wall and one is raised using the Siege Ballista, with a Warrior at the top. The Ladders have finally reached the Deeping Wall and now the assault will truly begin. One Ladder is raised from the Siege Ballista to the left wall, a Warrior riding it to the top, intent on being the first to set his blade into Man-flesh. The Defenders brace for this new onslaught, preparing to set shield and spear against the iron fist of the Orc. Aragorn moves to join the defence, leaving Hama to hold the central wall. Anduril will speak and the Uruk-Hai will heed. Legolas and the Archers maintain their fire against the Scouts but the broad shields of the Uruk-Hai turn their arrows aside.


Turn 6: Siege.
The remaining ladders are raised and the siege begins. Gimli and his Warriors manage to hold the line, while the Demolition Charges get closer to the wall. Shooting attacks against the ladders with Throwing Spears manage to keep the walls clear, while Gimli and the Warriors push back the attackers. The Uruk-Hai raise their remaining ladders and the Warriors storm towards the Wall in an endless tide. On the right flank, Gimli stands firm, relishing the chance to cleave Orc necks and to show Legolas why Dwarves are feared by the servants of the Sauron. On the left, Aragorn holds the line, providing cover for Legolas and his Archers. While the defenders fight for their lives and Throwing Spears pick off those climbing the ladders, the Demolition Charges close with the wall.


Turn 7: The Culvert
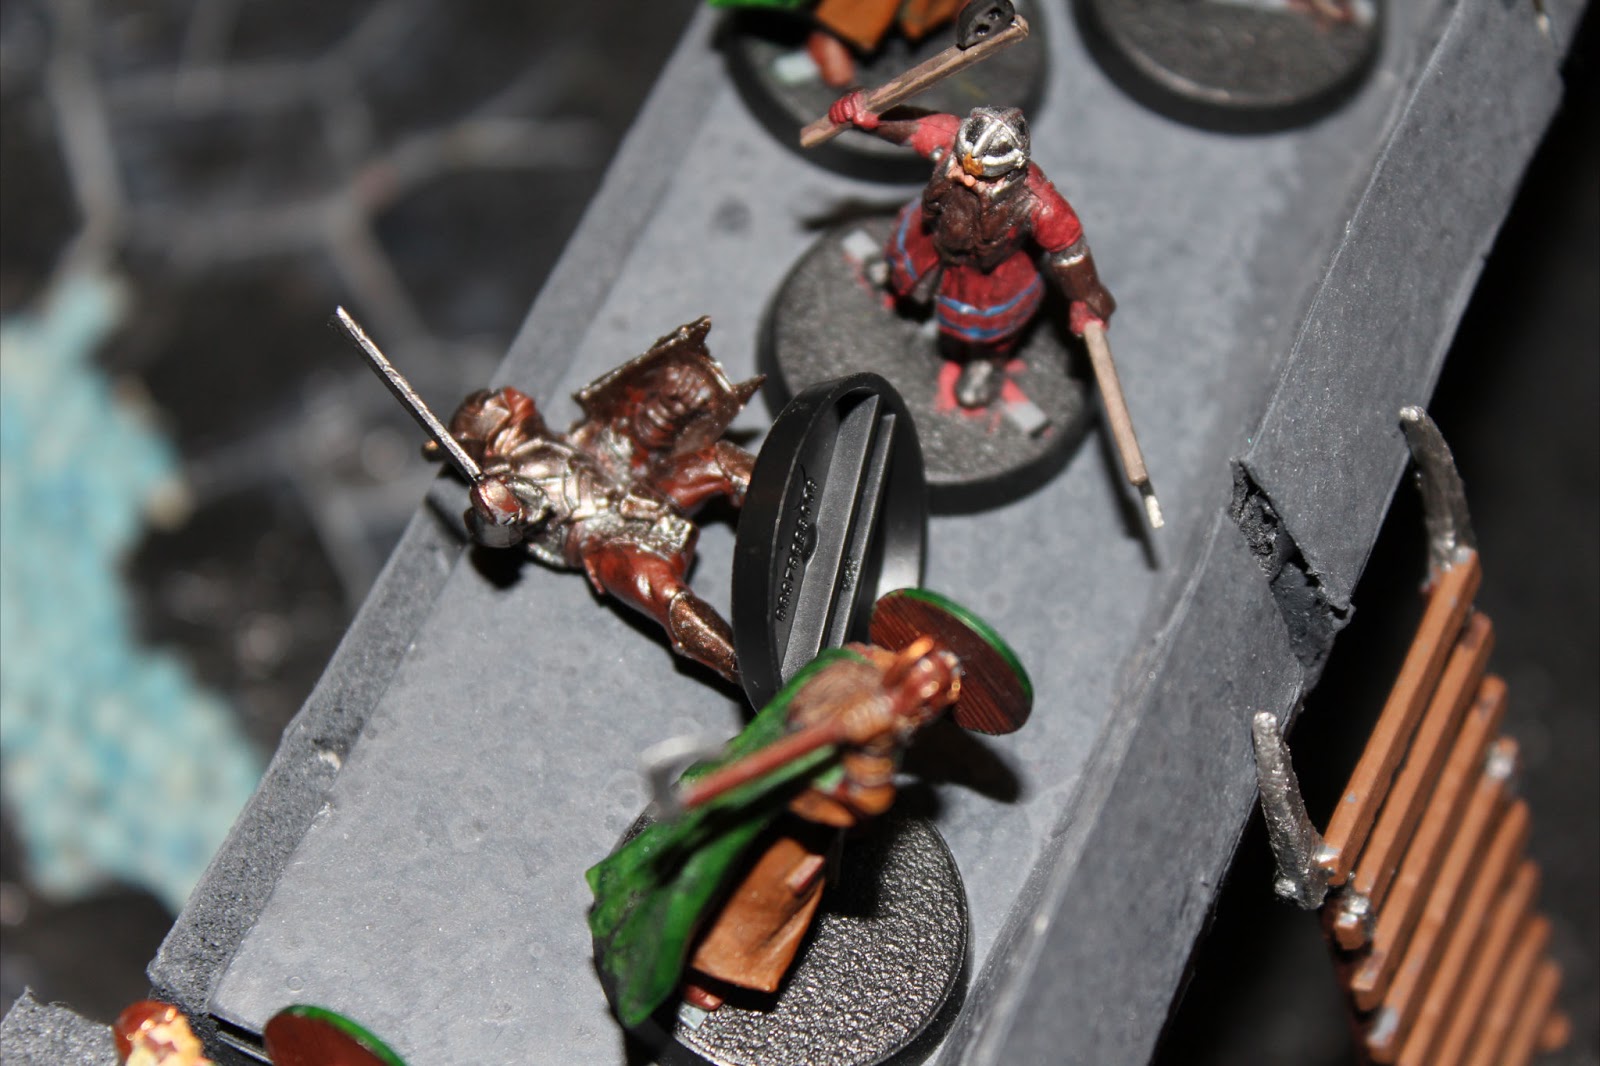
Siege Charge reaches the Culvert and the Crew prepare to detonate. Fight is drawn towards the outer walls. Under cover of the battle, the Sappers reach the Culvert and prepare to defend the Siege Charge until they can detonate it. The Sappers clear the area while the Berserker is driven into the raging fury where he will not even care about his own life. Seeing the danger, Hama and Aragorn evacuate the central wall, preparing to defend the breach.


Turn 8: The Breach!
Charge detonates, destroying the central wall and killing the Crew and two Scouts that were defending it. Attack turns towards the Breach, with the Defenders lead by Aragorn and Gimli head to defend it.
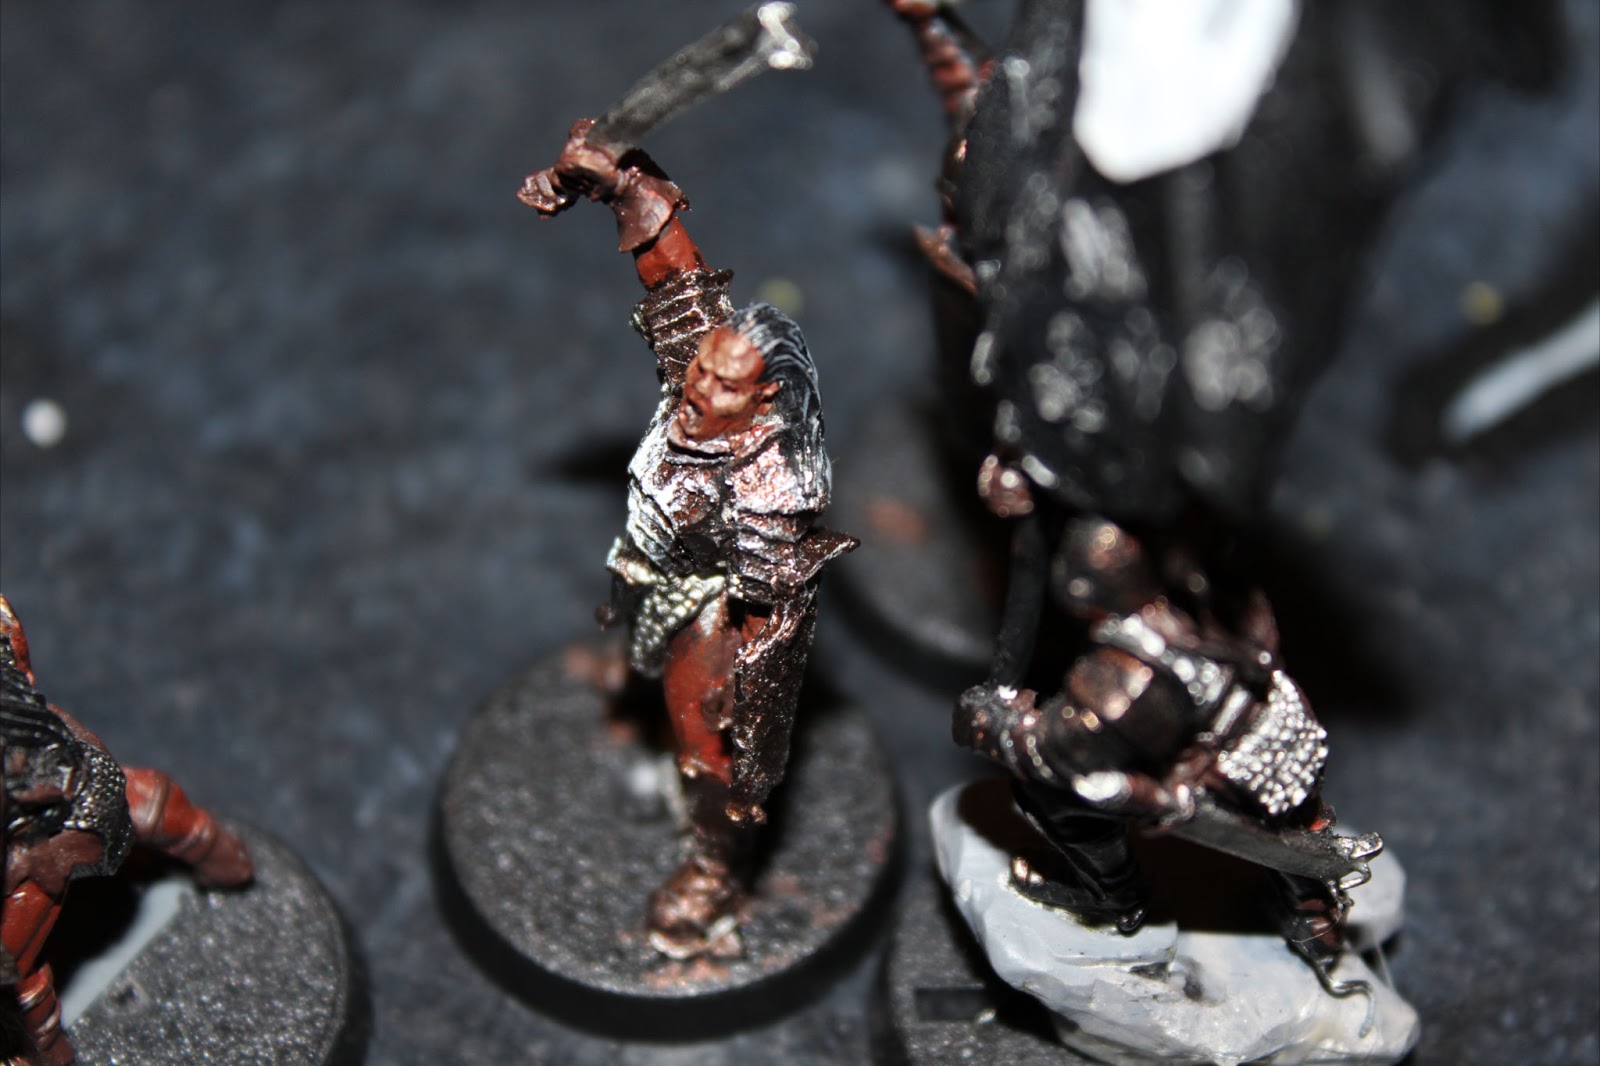
The clash of battle is lost in a thunderous roar as the Charge detonates, killing the crew and two Scouts that were defending it. At the sight of the mighty fortress of Men being breached, the Uruk-Hai pour towards the breach, to feast on Man-flesh. Aragorn and Gimli rally the Warriors to defend the Breach, to hold the line with their lives, while Legolas and Hama continue the fight on the Walls.


Turn 9: Defending The Breach
Aragorn and his Defenders hold the breach, and the army is broken, driving back the Uruk-Hai. Aragorn holds the Breach, slaying the Uruk-Hai that dare challenge him, driving them back from inside the Walls. The Breach is secure, but the Uruk-Hai will not give up so easily. This fight is won, but the night is far from over.